Final Touches
While accessibility considerations should be a first thought when designing and building blocks for blogging, it’s often a final touch to ensure that what have built can be accessed by all. My process for this blog site may offer some thoughts for others as they begin blogging.
I’m writing this blog site as part of my own accessibility audit on this blog site.
This video can be a starting point – How to do an accessibility check – A11ycasts #11. This video may provide more technical details that are beyond the basics, but will build your awareness of accessibility issues.
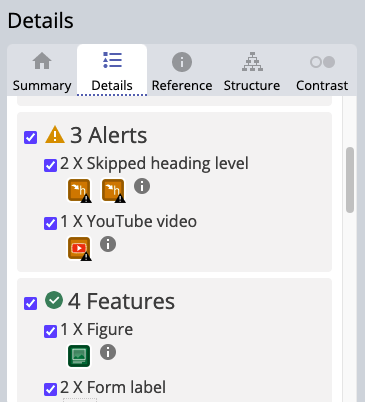
My audit for this site included basic revisions to heading structures on each page, alt text on all images, contrast issues on headings and buttons which are elements where I’ve adjusted colours, and updating links. Each page of this site can be checked using WAVE Web Accessibility Evaluation Tool.
Image of web accessibility summary
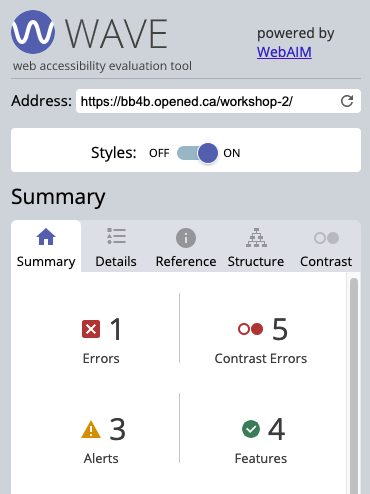
Image of web accessibility details
Here are some relevant resources that can build awareness and inform you practice when blogging with accessibility in mind:
- UBC Accessibility Handout – outlines the need for describing your visuals, transcribing your media, and describing your hyperlinks.
- UBC OER Accessibility Toolkit – this site includes an informative video and resource links that outline best practices for online content creation supported by universal design principles. This includes information on how to manage accessibility of images, tables, video and multimedia, font sizes, colour contrast, formulas, PDFs and word document files, and provides a handy checklist for use when publishing to the web, including your blogging pages and posts.
- Consider screen readers and how these technologies work to improve accessibility. This video from A11y provides information about VoiceOver on a Mac computer.
Checking Web Accessibility
As an educator, there is a responsibility to ensure all learning materials are web accessible. As an educator, awareness of digital accessibility is an essential digital skill to model and integrate into your work on a blog.
Here are some additional resources on web accessibility that are presented on this blog site but need to highlighted for explicit clarity.
- Easy Checks – A first review of web accessibility by W3C Web Accessibility Initiative
- Web Accessibility Evaluation Tools List by W3C (pay attention to the disclaimer notice)
- WAVE Web Accessibility Evaluation Tool – includes a video to guide you through the use of this tool.


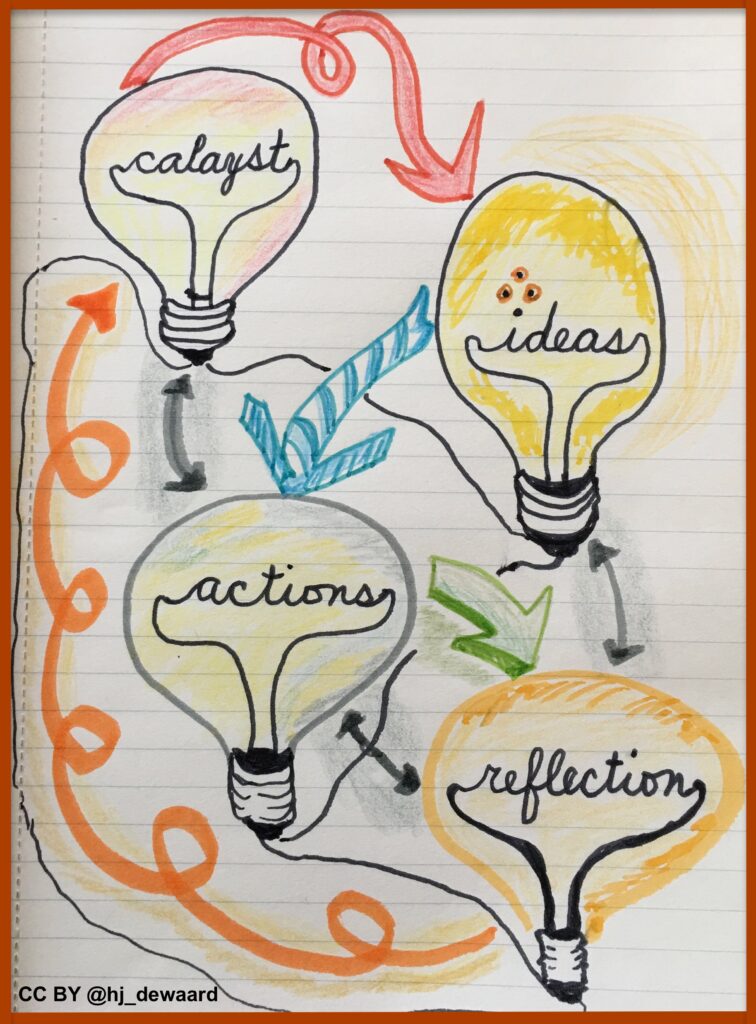
Catalysts
After getting feedback from some critical friends about why they blog, I’m sifting through the essential learning required for creating, managing and curating a blog site as part of my preparation for the upcoming workshops. In order to do this, I’m revisiting bloggers’ sites that are both inspiration and catalyst, thus distracting from my primary purpose in preparing a workshop blog site.
Inserting media – images and video
As a starting point to embedding media into blog posts or pages, it’s good to have options. When I found this video clip of a neon block, I wanted to use it as an example for media insertion into a blog post. Here are some of the ways I tried to do this:
- using a URL link to the original location https://pixabay.com/videos/id-36748/ but following accessibility guidelines means that I should embed that URL string into some meaningful text to allow screen readers to communicate this information to readers with specific viewing/reading needs. Here is the link to the neon block video on Pixabay as embedded into text. For my own practice as a blogger, I always open links in a new tab if they reside outside of this blog site. If the link goes to something within my site, I set it to open in the same tab.
- using the long string of code as provided by Pixabay, to provide the link and author information. Here it is pasted in a ‘text’ block: Dimitris Christou from Pixabay
- as an embedded video – downloaded from Pixabay and uploaded to WordPress as a media object

Where to begin
First tasks you might explore with your new blog:
- Go to APPEARANCE – change the template and make additional adjustments to the look and feel of your blog site
- Add new category or tags to organize your blog posts – found under “Posts”
- Add pages, if you like.
- Include hyperlinks in your posts (select text and click on the link icon in the post toolbar)
- Embed images or set featured images and embed video in blog posts and pages (can be your own media or that found on the internet, but consider free or creative commons licensed works). To embed a YouTube video, simply paste the URL on its own line.
- Under Dashboard/Appearance,
- Select your preferred website theme and customize to your preferences (New title, new header image, etc.)
- Customize menus & navigation
- Use widgets to customize blog content and features
- Do consider creating categories for each
Lastly, as always, be aware of the FIPPA as it relates to privacy and share only those names/images that you have consent to use or are otherwise public figures. When in doubt, defer to using your own images or Creative Commons CC BY images and items.
Please also review the resources from our course website for getting started with blogging: